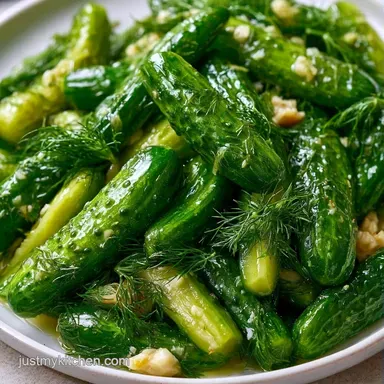
Crispy Mason Jar Dill Pickles
- Time: 15 min active + 24 hrs chilling
- Flavor/Texture Hook: Tangy, salty, and a loud, satisfying crunch
- Perfect for: Backyard BBQs or meal prep snacks
That loud, sharp snap of a cold pickle is the only way to start a sandwich. I remember the first time I tried making these for a family reunion. I didn't know about the blossom end, and half my batch turned into soft, sad cucumbers.
It was a total bummer, but it taught me exactly where the science of the crunch lives.
You don't need a professional canning setup to get this right. Most of the work is just packing a jar and simmering a bit of liquid. If you have a pot and a Mason jar, you're ready to go.
We're making a refrigerator version here. These Dill Pickles aren't meant for the pantry shelf, but they're way easier to handle for a busy weeknight. Trust me, once you taste the fresh dill, you'll never go back to the store-bought jars.
How to Actually Nail Dill Pickles
The trick to a great pickle is all about managing the enzymes. If you leave the blossom end on, the pickle softens within days. I always slice a tiny sliver off the bottom to keep them firm.
Another thing is the brine temperature. You don't want it boiling when it hits the cucumbers, or you'll essentially "cook" them. Letting the liquid sit for five minutes makes a huge difference in that final bite.
Finally, pack them tight. If the cucumbers float or shift too much, they don't absorb the flavors evenly. I like to wedge them in vertically, almost like a puzzle, to make sure every inch is submerged.
What Makes the Snap Happen - The Blossom End: Removing the end stops pectin breaking enzymes from ruining the texture, as noted by the experts at Serious Eats. - Salt Choice: Using pickling salt prevents the brine from getting cloudy, which happens with iodized salts.
| Type | Prep Effort | Crunch Level | Shelf Life |
|---|---|---|---|
| Fresh Fridge | Low | Very High | 3-4 Weeks |
| Shortcut Store | None | Medium | Months |
The Basics for Best Results
Before we get into the gear, let's look at what the ingredients actually do. You can't just throw any cucumber in a jar and expect a miracle. Kirby cucumbers are the gold standard because they have thinner skins and a denser interior.
If you use English cucumbers, they have too much water and will likely end up mushy. Stick to the small, bumpy ones. They handle the vinegar and salt much better over time.
What Each Ingredient Does
| Ingredient | What It Does | Best Swap |
|---|---|---|
| Kirby Cucumbers | Provides the crunch | Persian cucumbers |
| Distilled White Vinegar | Adds the sharp tang | Apple cider vinegar |
| Pickling Salt | Draws out moisture | Kosher salt |
| Fresh Dill | Gives that classic aroma | Dried dill (use less) |
Your Essential Ingredient List
Grab these items before you start. Make sure your dill is fresh cut, as dried dill doesn't have the same punch for a fridge pickle.
- 1 lb Kirby or Persian cucumbers Why this? Denser flesh means a better snap
- 4 cloves garlic, peeled and smashed Why this? Smashed cloves release more oils
- 3 sprigs fresh dill, roughly chopped Why this? Distributes flavor between spears
- 2 heads fresh dill umbrellas Why this? Provides the deep, herbal base
- 1 cup distilled white vinegar Why this? Clean acidity without adding color
- 1 cup filtered water Why this? Avoids chlorine tastes
- 1 tbsp pickling salt Why this? No additives to cloud the brine
- 1 tsp mustard seeds Why this? Adds a subtle, spicy depth
- 1 tsp black peppercorns Why this? Classic savory background
- 1/2 tsp red pepper flakes Why this? Very mild heat for balance
The Right Kitchen Tools
You don't need a lab for this. I just use a basic pot and a jar. If you have a mandoline, it's great for spears, but a sharp chef's knife works just as well.
The most important tool is a clean 1 quart Mason jar. Make sure it's scrubbed well. Any leftover residue can mess with the brine and make your Jar Dill Pickles taste off.
Chef's Note: If you don't have a strainer, just use a slotted spoon to fish the pickles out of the brine when you're ready to eat.
Putting It All Together
Let's crack on with the actual process. It's pretty straightforward, but the order of operations matters for the flavor.
- Wash the cucumbers thoroughly in cold water.
- Slice off approximately 1/16th of an inch from the blossom end of each cucumber. Note: This is the key to the crunch
- Slice the cucumbers into spears or leave them whole, ensuring they fit snugly in the jar.
- Place the smashed garlic cloves and the whole dill umbrellas at the bottom of the clean Mason jar.
- Pack the cucumbers into the jar vertically. until they are packed tight
- Tuck the chopped fresh dill and mustard seeds into the gaps between the cucumbers.
- Top the jar with the peppercorns and red pepper flakes.
- Combine the distilled white vinegar, water, and salt in a small saucepan.
- Bring the mixture to a simmer over medium heat, stirring until the salt is completely dissolved.
- Remove from heat and let the brine cool for 5 minutes. Note: This prevents shocking the cucumbers
- Carefully pour the hot brine over the cucumbers until fully submerged and seal the jar.
- Refrigerate for at least 24 hours for flavor development.
Fixing Your Jar Issues
Even for a pro, things can go sideways. Most of the time, it's just a matter of temperature or the type of cucumber used.
Troubleshooting Common Issues
| Issue | Solution |
|---|---|
| Why are my pickles soft | This usually happens if the blossom end wasn't removed or if the brine was too hot when poured. It can also happen if you used a cucumber variety with too much water. |
| Brine cloudy | Cloudiness often comes from using table salt instead of pickling salt. Table salt contains anti caking agents that don't dissolve cleanly in vinegar. |
| Why the dull color | A dull olive color is normal as the vinegar reacts with the chlorophyll. It doesn't mean they're bad, just that they've been curing. |
Changing Up the Flavor
Once you've got the hang of these Dill Pickles, you can start playing with the brine. I love adding a few slices of fresh jalapeño if I want something with a bit more kick.
If you want a more traditional, shelf stable version, you might want to look into my crunchy dill pickles recipe. That one uses a water bath to make them last longer in the pantry.
For a different vibe, try swapping the white vinegar for apple cider vinegar. It makes the flavor a bit mellower and slightly sweeter. You could also double the garlic if you're not worried about your breath. Some people even add a pinch of sugar to balance the acidity, which gives it a "half sour" deli feel.
Keeping Things Fresh
These will stay great in the fridge for about 3 to 4 weeks. Keep them tightly sealed. Use a clean fork to pull them out so you don't introduce bacteria into the jar.
Don't throw away the brine! It's basically a seasoned salt vinegar liquid. I use the leftover juice in potato salad or as a marinade for grilled chicken. It adds a bright, acidic punch that cuts through heavy fats.
If you're wondering if you can freeze them, the answer is a hard no. Freezing breaks the cell walls of the cucumber, and you'll end up with a soggy mess. For those who want a faster process, these quick canned pickles are a great alternative.
Preservation Tips
- Fridge Life: 3-4 weeks.
- Freezer: Do not freeze.
- Brine Reuse: Use for dressings or marinades.
Serving Your New Snacks
The best way to eat these is straight from the jar, but they really shine as a side. I always serve them alongside a juicy burger or a deli style pastrami sandwich. The acidity cleanses the palate between bites of rich meat.
You can also chop them up and toss them into a tuna salad or a chicken salad. The saltiness of the Dill Pickles acts as a seasoning, so you can usually cut back on the extra salt in your dressing.
If you're putting together a charcuterie board, place these next to some sharp cheddar or creamy brie. The contrast between the tangy pickle and the rich cheese is just right. Just make sure to pat them dry with a paper towel first so the brine doesn't run all over your crackers.
Decision Shortcut for Serving
- If you want a snack, eat them cold from the jar.
- If you're making a burger, slice them into long spears.
- If you're doing a salad, dice them into small, uniform cubes.
Recipe FAQs
Do homemade dill pickles in vinegar need to be refrigerated?
Yes, they must be kept cold. Refrigerate for at least 24 hours to allow flavors to develop and ensure safety since these are not canned.
Do I need to boil mason jars for pickles?
No, a thorough wash is sufficient. Because these are refrigerator pickles and not processed in a water bath, you only need clean jars to prevent contamination.
How to make homemade pickles with white vinegar?
Combine distilled white vinegar, water, and pickling salt in a saucepan. Simmer until the salt dissolves, cool for 5 minutes, and pour over cucumbers packed with dill and garlic.
Why are my pickles soft?
Remove the blossom end of each cucumber. Slicing off 1/16th of an inch from the blossom end removes enzymes that cause the vegetable to soften.
How to make homemade dill pickle juice?
Simmer 1 cup distilled white vinegar, 1 cup filtered water, and 1 tbsp pickling salt. Stir until the salt is completely dissolved and let the brine cool slightly before using.
How to make pickle relish from dill pickles?
Pulse the finished pickles in a food processor. Process until the pieces are finely diced. For another cucumber based variation, try our homemade tzatziki.
Is it true that cloudy brine means the pickles are spoiled?
No, this is a common misconception. Cloudiness usually occurs when table salt is used instead of pickling salt due to the presence of anti caking agents.
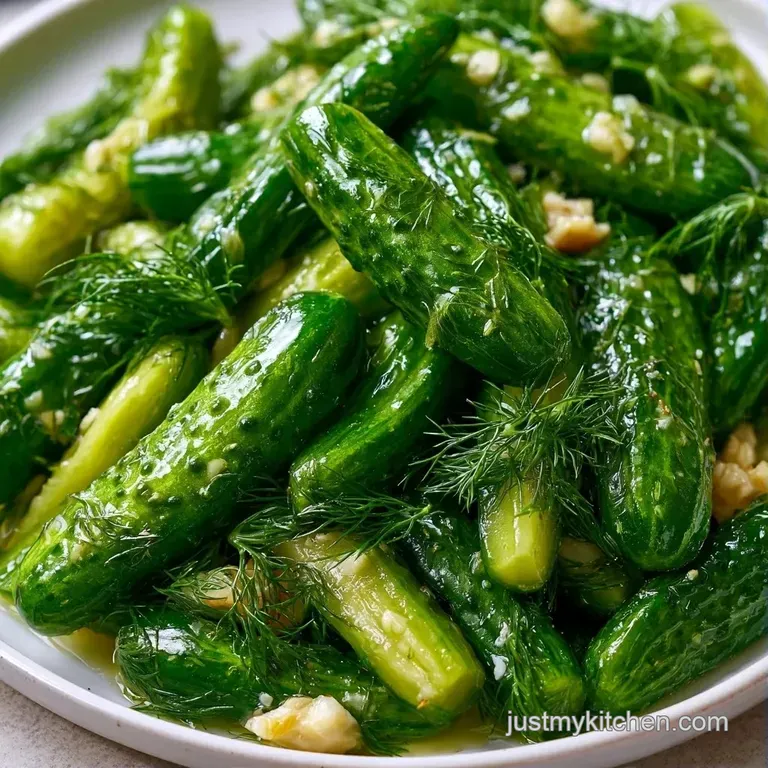
Mason Jar Dill Pickles