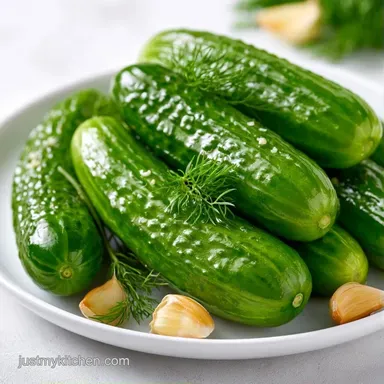
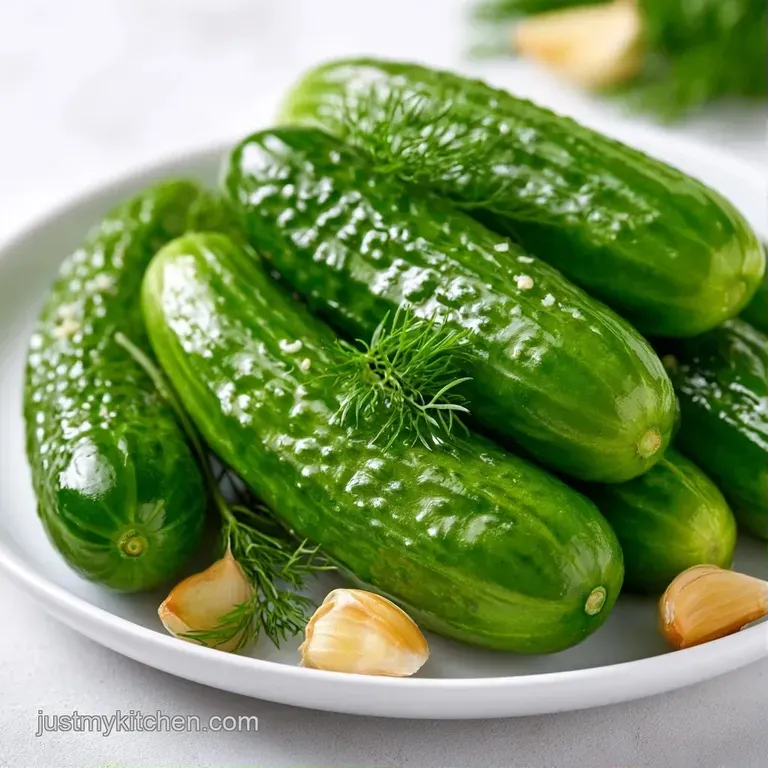
Classic Canned Pickle Spears
- Time: 15 min active + 30 min chilling
- Flavor/Texture Hook: Tangy, salty, and intensely crispy
- Perfect for: Family reunions, deli style sandwiches, or bulk meal prep
- Crunchy Homemade Pickle Spears
- Simple Tricks for Better Crunch
- What Each Ingredient Does
- The Grocery List
- Tools You Will Need
- Step by Step Instructions
- Fixing Common Issues
- Flavor Variations and Substitutes
- Storage and Waste Tips
- Best Pairing Suggestions
- Pickle Truths
- Critical in Sodium
- Recipe FAQs
- 📝 Recipe Card
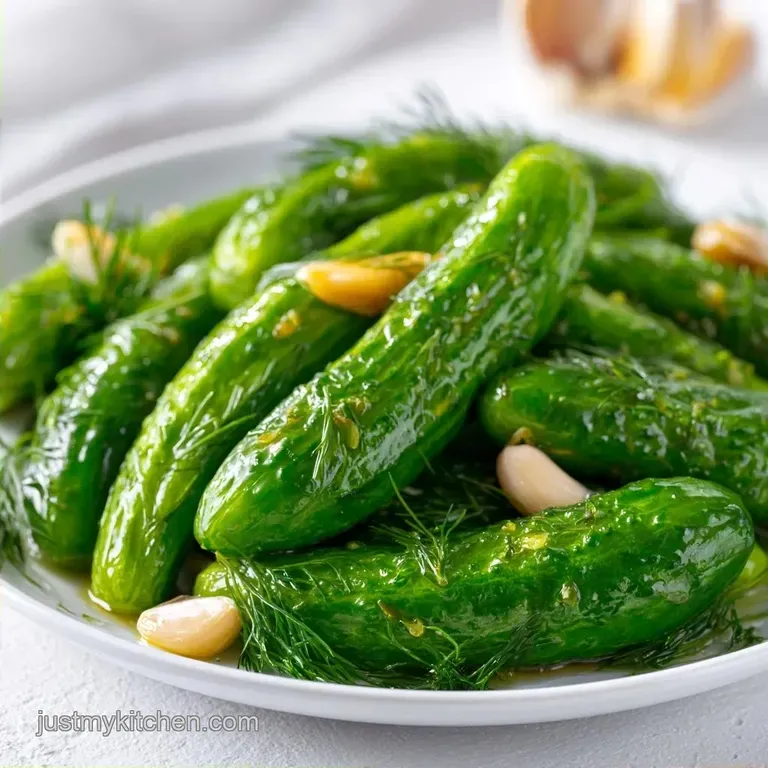
Crunchy Homemade Pickle Spears
That loud, satisfying crack when you bite into a cold pickle is everything. I remember the first time I tried making these for a big family barbecue. I just tossed the cucumbers in jars, thinking the vinegar would do all the work.
They turned out limp and sad, like something that had been sitting in a warm car for three days. It was a total letdown when everyone else was raving about the ribs.
I spent a few weekends messing around with temperatures and different cucumber types. I found out that the difference between a soggy pickle and a crunchy one is actually a few tiny details. Once I started cold shocking the veg and trimming the blossom ends, the results changed completely.
Now, these Pickle Spears are my go to for every summer get together. They have that classic deli vibe but without the weird preservatives. You'll get a bright, acidic punch that cuts through heavy meats and cheeses.
Simple Tricks for Better Crunch
The reason some homemade pickles go soft is often due to enzymes. If you leave the blossom end of the cucumber on, you're leaving in pectinase, which breaks down the cell walls and makes the veg mushy.
Blossom Trim: Cutting off 1/16th of an inch from the end stops the softening enzymes from ruining the batch. Ice Bath: Soaking the spears in ice water for 30 minutes tightens the cell structure for a louder snap.
| Method | Time | Texture | Best For |
|---|---|---|---|
| Quick Fridge | 24 hours | Crisp | Immediate snacking |
| Water Bath | 50 mins | Firm | Long term storage |
| Fermented | 2 weeks | Sour/Soft | Probiotic focus |
What Each Ingredient Does
I've found that using distilled water and vinegar keeps the brine clear. Tap water often has minerals that can make the jars look cloudy, which isn't a safety issue but looks messy.
| Ingredient | What It Does | Best Swap |
|---|---|---|
| Kirby Cucumber | Holds shape well | Persian (smaller, thinner skin) |
| Distilled White Vinegar | Provides acidity | Apple Cider Vinegar (milder, golden) |
| Pickling Salt | Brines without clouding | Kosher Salt (check for additives) |
| Fresh Dill Weed | Adds herbal punch | Dried dill (use 1/3 the amount) |
The Grocery List
Get some Kirby cucumbers if you can. They have thicker skins and denser flesh than the long English ones, which means your Pickle Spears won't collapse under the heat of the canning process.
- 5 lbs Kirby or pickling cucumbers Why this? They stay crunchier than slicing cucumbers
- 5 cloves garlic Why this? Fresh cloves give a sharper bite
- 5 sprigs fresh dill weed Why this? Essential for that "deli" aroma
- 5 tsp dill seed Why this? Adds a deeper, earthy base note
- 3 cups distilled white vinegar Why this? Consistent acidity for safety
- 3 cups filtered water Why this? Prevents cloudy brine
- 1/4 cup pickling salt Why this? No iodine, so the brine stays clear
- 1 tbsp sugar Why this? Balances the sharp vinegar hit
Tools You Will Need
You don't need a professional kitchen, but a few specific tools make this way easier. I use a wide mouth funnel so I don't end up with vinegar splatters all over my counters.
- Sterilized pint jars with lids and bands
- Large stainless steel saucepan
- Wide mouth canning funnel
- Large bowl for ice water
- Boiling water canner or a deep pot with a rack
Step by step Instructions
- Scrub the cucumbers thoroughly under cold water to remove any grit. Slice off exactly 1/16th of an inch from the blossom end.
- Cut each cucumber lengthwise into quarters to create uniform Pickle Spears.
- Soak the spears in ice water for 30 minutes. Note: This is the most important step for the crunch.
- Combine distilled white vinegar, filtered water, pickling salt, and sugar in a saucepan.
- Heat over medium high until the salt and sugar are completely dissolved. Bring to a light simmer, then remove from heat immediately.
- Place one smashed garlic clove, one sprig of fresh dill, and 1 teaspoon of dill seed at the bottom of each sterilized pint jar.
- Pack the Pickle Spears tightly into the jars, standing them vertically. Leave 1/2 inch of headspace at the top.
- Pour the hot brine over the spears, ensuring they are completely submerged.
- Wipe the rims clean, center the lids, and screw on the bands until fingertip tight.
- Submerge jars in a boiling water bath and process for the time recommended for your altitude.
Fixing Common Issues
If your brine looks like swamp water, don't panic. It usually happens because of the water source or the type of salt used.
Why Your Pickles Get Mushy
Usually, this is a temperature or enzyme problem. If you skip the ice bath or leave the blossom end on, the cells break down. You can also try adding a grape leaf or a pinch of tannins to keep them firm.
Handling Cloudy Brine
Cloudiness often comes from using tap water with high mineral content. It can also happen if you use table salt with anti caking agents. It doesn't affect the taste, but it looks less professional.
| Problem | Root Cause | Solution |
|---|---|---|
| Soft texture | Blossom end left on | Trim 1/16" from the end |
| Cloudy liquid | Tap water minerals | Use distilled or filtered water |
| Floating veg | Not enough brine | Press down with a spatula |
Flavor Variations and Substitutes
You can easily tweak this to be more spicy or a bit sweeter. If you want a version for quick snacks, you can try making Pickles for Meal Prep recipe which don't require the boiling water bath.
For a Spicy Kick: Add two sliced jalapeños or a teaspoon of red pepper flakes to each jar. This doesn't change the chemistry, just the heat.
Low Sodium Option: Use a reduced sodium pickling salt. Note that the salt helps preserve the texture, so these might soften a bit faster.
Sugar-free Version: Just leave out the tablespoon of sugar. The vinegar will taste sharper, but it's more traditional for Old Fashioned Kosher Dill Pickles.
Storage and Waste Tips
Once processed, these Pickle Spears can sit on a shelf for up to a year. Once you open a jar, keep it in the fridge. They'll stay great for several months, though the flavor is most intense in the first few weeks.
For zero waste, don't toss the leftover brine. It's liquid gold for marinating chicken or adding to a potato salad for an acidic punch. If you have cucumber ends that were too small to be spears, toss them into a separate small jar with a bit of brine for "snack bites."
Best Pairing Suggestions
These are a natural fit for any platter. I love serving them alongside a creamy macaroni salad to balance the richness of the mayo.
The Deli Board: Pair these with sliced salami, sharp provolone, and a grainy mustard. The acidity of the Pickle Spears cuts right through the fat of the meat.
The Burger Upgrade: Instead of a round slice, lay two spears across the top of a cheeseburger. It gives the sandwich more height and a better crunch in every bite.
Charcuterie Style: Add them to a board with brie, grapes, and walnuts. The vinegary snap cleanses the palate between the creamy cheese and the sweet fruit.
Pickle Truths
Some people think you have to boil the cucumbers to make them safe. That's a myth. The acidity of the vinegar does the heavy lifting for preservation. Boiling the veg actually ruins the texture.
Another common thought is that "more salt equals more crunch." Not true. Too much salt can actually draw out too much moisture too quickly, leading to a shriveled look. Stick to the measurements for the best result.
Right then, you've got everything you need to get started. Just remember to trim those blossom ends and give them a good ice bath. You'll end up with Pickle Spears that actually snap. Let's get canning!
Critical in Sodium
1146 mg 1146 mg of sodium per serving (50% 50% of daily value)
The American Heart Association recommends a limit of 2,300mg of sodium per day, and an ideal limit of 1,500mg for most adults to reduce the risk of cardiovascular disease.
Tips to Reduce Sodium
-
Reduce Pickling Salt-25%
Cut the pickling salt by half. Since this is the primary sodium source, reducing the volume is the most effective way to lower the sodium content.
-
Use Salt Substitutes-20%
Replace a portion of the salt with a potassium based salt substitute to maintain a salty profile with less sodium.
-
Increase Acidity-10%
Increase the amount of distilled white vinegar or add lemon juice to enhance the tanginess, which helps mask the reduction in salt.
-
Boost Aromatics
Double the amount of fresh dill weed and garlic to add depth and complexity to the flavor without adding any sodium.
Recipe FAQs
Do homemade dill pickles in vinegar need to be refrigerated?
No, not if they are processed in a boiling water bath. Once canned, they are shelf stable for up to a year. You only need to refrigerate them after the jar has been opened.
Can you use store-bought pickle juice to make more pickles?
No, this is not recommended. store-bought juices often lack the specific concentrations of salt and acidity required to safely preserve fresh cucumbers. Stick to the measured brine of distilled white vinegar and pickling salt.
How to make homemade pickles with white vinegar?
Simmer distilled white vinegar, filtered water, pickling salt, and sugar until the solids are completely dissolved. Pour this hot brine over cucumbers and aromatics in sterilized jars and process them in a boiling water bath.
How to make homemade dill pickle juice?
Combine distilled white vinegar, filtered water, pickling salt, and sugar in a saucepan. Heat the mixture over medium high until it reaches a light simmer, then remove from heat immediately.
How to make simple dill pickles?
Pack cucumber spears, garlic, and dill into sterilized jars. Fill the jars with hot brine and process in a boiling water bath. These spears are a great addition to a grilled chicken side salad.
How to make sweet pickles without canning?
Increase the sugar in the brine and store the filled jars in the refrigerator instead of using a boiling water bath. These refrigerator pickles must remain chilled to stay fresh.
Is it true that slicing the blossom end is unnecessary for texture?
No, this is a common misconception. You must slice off exactly 1/16th of an inch from the blossom end to remove enzymes that can make the pickles soft.
Classic Canned Pickle Spears