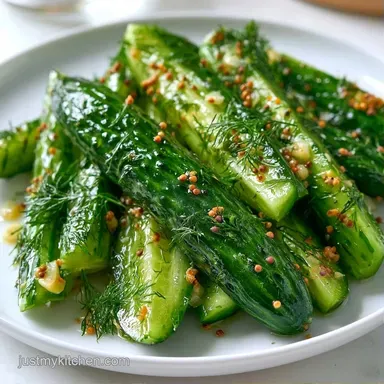
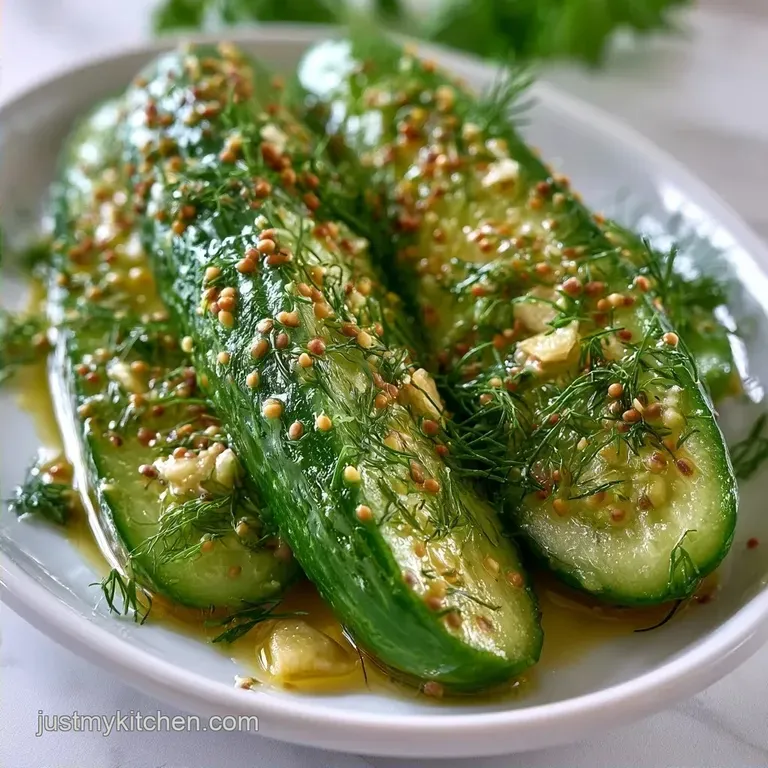
Pint Jar Canned Pickles with Fresh Dill
- Time: 30 min active + 10 min cook
- Flavor/Texture Hook: Tangy, salty, and loud crunch
- Perfect for: Beginner canners and sandwich lovers
Making Easy Canned Pickles
That loud, satisfying snap when you bite into a cold pickle is everything. I remember the first time I tried this; I was so worried about them turning into mush. But once I realized it's all about the cucumber variety and a bit of precision with the brine, I stopped buying the store-bought jars.
These Canned Pickles are all about that punchy vinegar hit and the warmth of smashed garlic. It's a project that feels like a big win because you end up with a pantry full of something you actually made.
You'll see that we keep things simple here. We aren't doing anything overly complex, just focusing on the right balance of salt and acid. These Canned Pickles will stay crisp if you follow the steps, and they taste way better than anything from a plastic tub.
Why Some Pickles Get Soft
Most recipes forget to tell you about the blossom end. That little tip of the cucumber contains enzymes that break down pectin, which is what keeps the walls of the veggie firm. If you leave it on, your Canned Pickles will likely turn soft within a week.
The Blossom End: Slicing off 1/16 inch of the end stops the softening process. Vinegar Strength: Using a 5% acidity vinegar ensures the environment is too acidic for bacteria to grow.
But why the specific salt? If you use table salt, the iodine can make your Canned Pickles look cloudy. Pickling salt is pure, keeping the brine clear and the flavor clean.
| Method | Time | Texture | Best For |
|---|---|---|---|
| Fresh/Fridge | 2 days | Super Crisp | Immediate eating |
| Canned | 40 mins | Firm Snap | Long term storage |
Quick Recipe Specs
This batch is designed for a small, manageable run. It's a great way to get used to the process before trying a massive garden haul. These Canned Pickles fit perfectly into half pint jars.
- Prep time: 30 minutes
- Cook time: 10 minutes
- Total time: 40 minutes
- Yield: 4 half pint jars (approx. 500ml each)
The Ingredient List
The Kirby cucumber is the hero here. These are shorter and have thicker skins than slicing cucumbers, which means they hold up to the heat of the brine without collapsing. Using a standard garden cucumber would be a mistake because they have too much water.
- 900g (2 lbs) Kirby or pickling cucumbers Why this? Thicker skins prevent mushiness
- 4 sprigs fresh dill Why this? Adds that classic herbal punch
- 4 cloves garlic, peeled and smashed Why this? Smashed releases more oils
- 4 tsp mustard seeds Why this? Adds a subtle earthy heat
- 1/2 tsp red pepper flakes Why this? Gives a tiny back end kick
- 475ml (2 cups) white distilled vinegar, 5% acidity Why this? Standard for safe canning
- 475ml (2 cups) filtered water Why this? Removes chlorine taste
- 30g (2 tbsp) pickling salt Why this? No additives, clear brine
- 1 tbsp whole black peppercorns Why this? Sharp, aromatic heat
| Original Ingredient | Substitute | Why It Works |
|---|---|---|
| White Vinegar | Apple Cider Vinegar | Fruity notes. Note: Brine will be amber, not clear |
| Fresh Dill | Dill Seed (1 tsp) | Concentrated flavor. Note: Lacks the fresh "green" taste |
| Kirby Cucumbers | Persian Cucumbers | Similar snap. Note: Skin is thinner, may soften faster |
Gear You Will Need
You don't need a professional kitchen to make Canned Pickles. A few basic tools will do the job.
- 4 half pint Mason jars with lids and rings
- Medium saucepan for the brine
- Sharp knife or mandoline for slicing
- Large bowl for scrubbing cucumbers
- Pot for warming jars
Step-by-step Instructions

Right then, let's get into the flow. I like to prep all my "dry" ingredients first so I'm not scrambling while the brine is bubbling.
The Cucumber Prep
- Scrub the cucumbers well under cold water to remove any dirt.
- Slice exactly 1/16 inch off the blossom end of each cucumber. Note: This removes the softening enzymes
- Leave them whole if they are small, or slice into spears or coins.
Packing the Jars
- Wash jars and lids in hot, soapy water. Keep the jars warm so they don't crack when the hot brine hits them.
- Place one smashed garlic clove, one sprig of dill, and a pinch of mustard seeds in each jar.
- Pack the cucumbers in vertically. Press down firmly, but don't bruise the skin.
- Add a final pinch of dill and peppercorns to the top.
The Brine Process
- Combine white distilled vinegar, filtered water, pickling salt, and peppercorns in your saucepan.
- Bring the mixture to a boil for about 10 minutes until the salt is fully dissolved and the liquid is bubbling rapidly.
- Pour the hot brine over the cucumbers, leaving 1/2 inch of headspace. Seal with lids and rings.
Chef's Note: To keep them extra crunchy, I sometimes soak the sliced cucumbers in an ice water bath for 30 minutes before packing them into the jars.
Avoiding Common Mistakes
If your Canned Pickles aren't turning out right, it usually comes down to the prep. The most common issue is the "soft pickle" syndrome. This usually happens if you used a cucumber with too much water or forgot to trim the blossom end.
Why Your Pickles Are Soft
The pectin in the cucumber breaks down if the temperature is too high for too long or if enzymes are present. Stick to the 10 minute boil for the brine and don't over process.
Why Your Brine Is Cloudy
This is almost always the salt. Table salt has anti caking agents that react with the vinegar. Using pure pickling salt fixes this immediately.
Seal Success Check
Once the jars cool, press the center of the lid. If it doesn't pop back, it's sealed. If it clicks, the seal failed, and you should move that jar to the fridge and eat it first.
| Problem | Root Cause | Solution |
|---|---|---|
| Mushy texture | Blossom end left on | Trim 1/16 inch off the end |
| Cloudy liquid | Table salt used | Switch to pure pickling salt |
| Lid popping | Not enough headspace | Leave exactly 1/2 inch gap |
Switching Up the Flavors
Once you're comfortable with the basic Canned Pickles, you can start playing with the additions. If you want a larger batch for the winter, you might try these pickles for 6 quart jars.
- For more heat
- Double the red pepper flakes or add a sliced habanero to each jar.
- For a sweeter vibe
- Add 1/4 cup of sugar to the brine. This moves them toward a bread and butter style.
- For a punchier taste
- Try making these garlic dill pickles which use a higher garlic to cucumber ratio.
If you want a different result, follow this shortcut: - Want a louder crunch? Use an ice bath before packing. - Want more garlic flavor? Smash the cloves with a heavy pan. - Want a sharper tang? Increase the vinegar by 1/4 cup and reduce water.
Storage and Waste Tips
Store your Canned Pickles in a cool, dark place like a pantry or cellar. They'll stay good for about a year, though the flavor is best in the first six months. Once you open a jar, it must go in the fridge.
Don't toss the leftover brine! It's basically a seasoned salt vinegar solution. Use it as a marinade for grilled chicken or pour a bit over boiled potatoes for a quick snack. You can also use the brine to quick pickle some red onions for tacos.
Best Foods to Pair
These Canned Pickles are the best companion for anything fatty or rich. They cut through the heaviness of a burger or a grilled cheese sandwich. I love serving them alongside a platter of sharp cheddar and smoked salami.
They also work great in a potato salad. Instead of using store-bought relish, chop up your homemade pickles into tiny bits. The acidity balances the creamy mayo and starch of the potatoes.
Right then, you're all set. Just remember to keep your jars warm and your cucumber ends trimmed. Your pantry is about to get a lot more interesting with these Canned Pickles.
High in Sodium
846 mg 846 mg of sodium per serving (37% 37% of daily value)
The American Heart Association recommends a daily sodium limit of no more than 2,300 mg for most adults to maintain heart health.
Tips to Reduce Sodium in Your Pickles
-
Reduce Pickling Salt-30%
Cut the amount of pickling salt in half. While salt is key for preservation, reducing it significantly lowers the sodium per serving.
-
Use Salt Substitutes-25%
Replace a portion of the salt with a potassium based salt substitute to maintain the savory profile with less sodium.
-
Enhance Acidity-15%
Add a tablespoon of lemon juice or apple cider vinegar to increase the tanginess, which helps mimic the flavor of salt.
-
Amplify Aromatics
Double the fresh dill and smashed garlic to provide a more robust flavor profile that distracts from the reduction in salt.
Recipe FAQs
Do homemade dill pickles in vinegar need to be refrigerated?
No, they can be stored in a cool, dark pantry. These canned pickles stay shelf stable for about a year, though you must move them to the fridge once the seal is broken.
How to make homemade pickles with white vinegar?
Boil a mixture of white distilled vinegar, filtered water, pickling salt, and peppercorns. Pour this hot brine over packed cucumbers and aromatics in warm jars, then seal with lids and rings.
How to make simple dill pickles?
Pack Kirby cucumbers into warm jars with fresh dill, smashed garlic, and mustard seeds. Fill the jars with boiling brine, leaving a half inch of headspace, and seal immediately.
How to make homemade dill pickle juice?
Combine two cups of white distilled vinegar with two cups of filtered water and two tablespoons of pickling salt. Bring the solution to a boil with black peppercorns to create a traditional pickling brine.
Can you use store-bought pickle juice to make more pickles?
No, avoid using commercial juice for canning. store-bought brines often lack the specific acidity and salt concentrations required to safely preserve fresh vegetables at home.
Is it true that you can skip slicing the blossom end of the cucumber?
No, this is a common misconception. You must slice off 1/16th of an inch from the blossom end to remove softening enzymes that otherwise make the pickles mushy.
How can someone make homemade vegetable pickles using this method?
Substitute the Kirby cucumbers for other firm vegetables like carrots or cauliflower. If you loved the sweet tart balance in this recipe, see how we use a similar acid technique in our chickpea tuna salad.
Pint Jar Canned Pickles