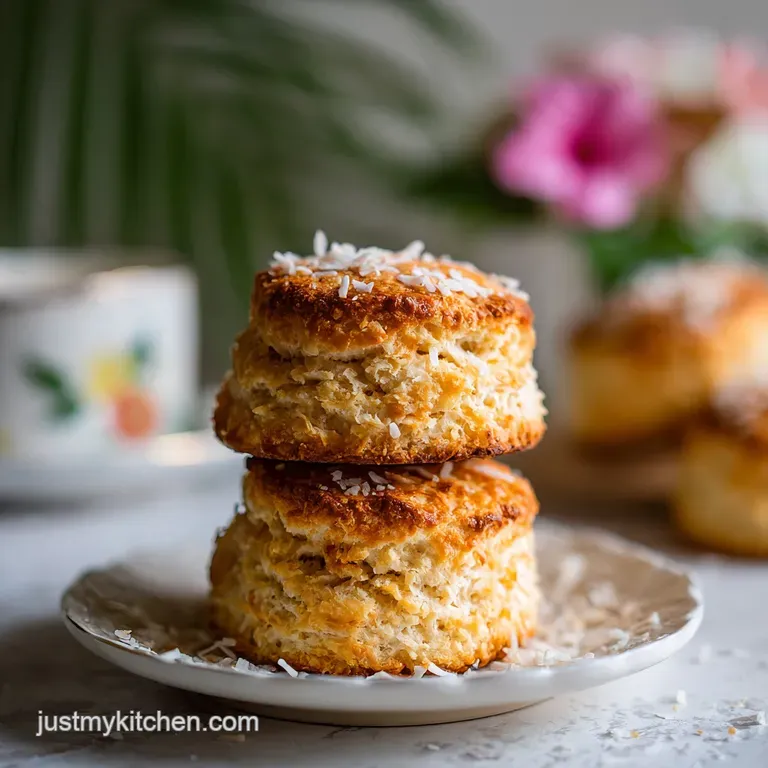
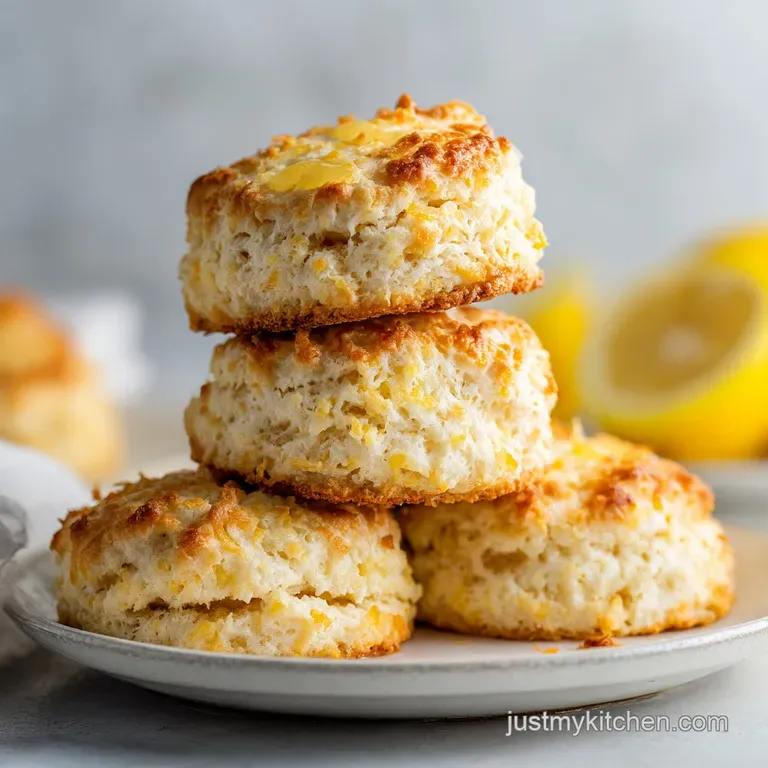
Toasted Coconut Lemon Scones: Flaky and Zesty
- Time: Active 15 minutes, Passive 15 minutes, Total 30 minutes
- Flavor/Texture Hook: Zesty lemon zing with a shatter crisp coconut crust
- Perfect for: Lazy Sunday brunches or a whimsical afternoon tea party
- Bake The Flakiest Coconut Lemon Scones
- Why Cold Fat Creates Better Texture
- Precise Measurements for Perfect Baking
- Selecting Every Layer of Flavor
- Necessary Kitchen Tools for Success
- Step by Step Baking Guide
- Fixing Common Scone Baking Problems
- Flavor Variations and Dietary Swaps
- Storage Tips and Zero Waste
- Pairing Suggestions for Your Brunch
- Kitchen Myths Debunked
- Recipe FAQs
- 📝 Recipe Card
Bake The Flakiest Coconut Lemon Scones
Imagine the scent of toasted coconut hitting the air, followed by the sharp, clean aroma of lemon zest being worked into flour. This isn't just a basic bake; it is a ritual of texture and scent that transforms a quiet morning into something magical. I remember the first time I made these for a garden party.
The sun was just beginning to warm the patio, and as the timer dinged, the entire kitchen smelled like a tropical getaway.
These Coconut Lemon Scones are designed to be approachable yet impressive. We aren't looking for a leaden, dry puck of dough here. Instead, we want layers that pull apart with a gentle tug, revealing a soft, tender crumb that practically melts away.
The secret lies in the contrast between the cold dairy and the hot oven, a little dance of temperatures that creates that signature rise we all crave.
What you can expect from this recipe is a balance of flavors that feels both traditional and modern. The coconut isn't overwhelming; it acts as a nutty backbone to the vibrant citrus.
It is the kind of recipe that makes you want to put on an apron, turn up some jazz, and just enjoy the process of creating something beautiful from scratch.
Why Cold Fat Creates Better Texture
Steam Expansion: When frozen butter ribbons hit the high heat of the oven, the water inside the butter evaporates instantly, creating tiny steam pockets that lift the dough.
Gluten Inhibition: Coating flour particles in cold fat prevents them from bonding too tightly with the buttermilk, ensuring the crumb stays tender rather than tough.
Starch Gelatinization: The quick blast of heat sets the exterior structure before the butter can fully melt into the flour, preserving those distinct, flaky layers.
Acidity Reaction: The combination of lemon juice and buttermilk reacts with the baking soda to create immediate carbon dioxide bubbles for a lighter lift.
| Cooking Method | Total Time | Texture Result | Best For |
|---|---|---|---|
| Standard Oven | 15 minutes | Deeply golden, shatter crisp exterior, fluffy interior | Traditional high rise scones |
| Stovetop Pan | 20 minutes | Dense, biscuit like, with a flat, toasted crust | Smaller batches or "griddle cakes" |
| Air Fryer | 12 minutes | Very crunchy outside, slightly more moist middle | Quick single servings |
The choice between an oven and a stovetop really comes down to the kind of "shatter" you want in your bite. While a heavy bottomed skillet on the stovetop produces a lovely, rustic griddle scone, it simply cannot replicate the vertical lift and airy layers that a 200°C oven provides.
The circulating dry heat of the oven is what allows those butter ribbons to puff up and stay separate.
Precise Measurements for Perfect Baking
| Ingredient Component | Role in the Bake | Pro Secret |
|---|---|---|
| Frozen Butter | Creates flaky layers | Grate it directly into the flour to keep it from melting |
| Toasted Coconut | Adds nutty crunch | Toast until mahogany gold to release essential oils |
| Cold Buttermilk | Provides lift and tang | Keep it chilled until the very last second for maximum rise |
Selecting Every Layer of Flavor
- 375g all purpose flour: This provides the structure without being too heavy. Why this? A medium protein content ensures a tender crumb while supporting the scone's height.
- 100g granulated sugar: Just enough to sweeten the dough without making it cloying. Why this? Sugar also helps with the browning of the exterior crust.
- 1 tbsp baking powder: Our primary leavening agent. Why this? It provides the initial lift during the mixing and early baking stages.
- 0.5 tsp baking soda: Acts as the secondary lift. Why this? It reacts with the acidic buttermilk and lemon juice for extra fluffiness.
- 0.5 tsp sea salt: Enhances all the other flavors. Why this? Salt is essential to balance the sweetness and brighten the citrus notes.
- 115g unsalted butter: Must be frozen solid. Why this? Frozen butter creates the most distinct flakes compared to just "cold" butter.
- 2 large lemons: Use both the zest and the juice. Why this? Zest carries the aromatic oils while juice provides the acidic punch.
- 75g unsweetened shredded coconut: Toasted until fragrant. Why this? Toasting removes moisture and intensifies the tropical flavor profile.
- 180ml cold buttermilk: The liquid base. Why this? Its thickness and acidity create a much more tender scone than regular milk.
- 1 large egg: For richness and structure. Why this? The egg helps the dough hold its shape and adds a golden hue.
- 1 tsp pure vanilla extract: A classic aromatic. Why this? Vanilla rounds out the sharp citrus and nutty coconut beautifully.
- 120g powdered sugar: For the final glaze. Why this? Its fine texture dissolves into a smooth, silky drizzle.
- 0.5 tsp coconut extract: For the glaze finish. Why this? A tiny drop reinforces the coconut theme without being artificial.
Necessary Kitchen Tools for Success
You don't need a professional bakery setup to master these Coconut Lemon Scones, but a few specific tools make the process much smoother. A sturdy box grater is your best friend here. By using the large holes to grate your frozen butter, you create uniform "ribbons" that distribute perfectly through the flour.
This is much more efficient than using a pastry cutter, which can often warm the butter up too much with the friction of your hands.
A large, wide mixing bowl is also helpful. It gives you plenty of room to toss the flour and butter together without squishing the fat. For the final bake, a heavy rimmed baking sheet lined with parchment paper ensures the bottoms don't scorch before the tops are golden. If you're looking to explore more bright, citrusy profiles in your cooking, you might also enjoy experimenting with a savory lemon chicken for your next dinner.
step-by-step Baking Guide
1. The Maillard Pre Toast
Place the shredded coconut in a dry skillet over medium heat. Stir constantly until the flakes turn a beautiful mahogany gold and smell intensely fragrant (about 3 to 5 minutes). Remove them from the heat immediately to prevent burning.
Note: This step is vital because it develops the nutty depth of the coconut.
2. The Dry Base
In a large mixing bowl, whisk together the flour, sugar, baking powder, baking soda, salt, and the fresh lemon zest. Whisk until the zest is evenly distributed and no large clumps of sugar remain.
3. The Frozen Grate Method
Using the large holes of a box grater, grate the frozen butter directly into the flour mixture. Toss the mixture gently with a fork every few seconds to coat the butter ribbons in flour. Note: This prevents the butter from clumping back together into a solid mass.
4. The Flavor Integration
Gently fold the toasted coconut into the flour and butter mixture. Use a light hand so you don't crush those delicate butter ribbons you just created.
5. The Liquid Bind
In a separate small bowl, whisk together the cold buttermilk, egg, and vanilla extract. Pour this liquid into the dry ingredients all at once. Stir until a shaggy dough just begins to form and no dry flour remains at the bottom of the bowl.
6. The Shape and Cut
Turn the dough onto a lightly floured surface and pat it into an 8 inch disc, about 2.5 cm thick. Use a sharp knife to cut the disc into 8 equal wedges. Note: Do not overwork the dough; those cracks and bumps are where the flakiness lives.
7. The Flash Bake
Place the wedges on a parchment lined baking sheet, leaving at least 5 cm of space between each. Bake at 200°C for 15 minutes until the tops are deeply golden and the edges feel firm.
8. The Glaze Finish
Whisk together the powdered sugar, 2 tablespoons of lemon juice, and the coconut extract until smooth. Drizzle the glaze over the scones while they are still warm to allow some of it to soak in.
Fixing Common Scone Baking Problems
Dense or Heavy Texture
If your scones feel more like bread than pastry, the dough was likely overworked. When you stir the buttermilk into the flour, you only want to mix until the "shaggy" stage. Any further mixing develops gluten, which is great for a baguette but terrible for a scone.
Also, ensure your baking powder is fresh; if it’s older than six months, it might not provide the necessary lift.
Spreading and Melting
Scones that flatten out like pancakes usually suffer from warm butter. If your kitchen is hot, or if you handled the dough too much, the butter melts before it even hits the oven. This causes the dough to lose its structure.
A quick fix is to pop the shaped wedges into the freezer for 10 minutes before baking to "reset" the fat.
| Problem | Root Cause | Solution |
|---|---|---|
| Soggy Bottoms | Oven temperature too low | Ensure oven is fully preheated to 200°C |
| Bland Flavor | Missing salt or zest | Use fresh lemon zest, never the bottled stuff |
| Dry Crumb | Too much flour in mix | Spoon flour into measuring cup; don't scoop directly |
Common Mistakes Checklist
- ✓ Keep the butter in the freezer until the very moment you need to grate it.
- ✓ Don't skip the coconut toasting; raw coconut can be chewy and lack flavor.
- ✓ Use a sharp knife or bench scraper to cut the wedges; don't "saw" the dough.
- ✓ Ensure the buttermilk is cold from the fridge to keep the dough temperature down.
- ✓ Let the scones cool for at least 5 minutes before glazing so it doesn't just run off.
Flavor Variations and Dietary Swaps
If you want to take this recipe in a slightly different direction, you can easily swap out the citrus. Lime zest and a splash of lime juice create a "Tropical Key Lime" version that pairs beautifully with the coconut. For a richer, more dessert like experience, you could even add a handful of white chocolate chips to the dough. If you are a fan of using coconut in different ways, you might want to look into a coconut milk pudding for a creamy alternative.
| Original Ingredient | Substitute | Why It Works |
|---|---|---|
| Buttermilk | Greek Yogurt + Splash of Milk | Similar acidity and thickness for a tender crumb |
| All Purpose Flour | 1 to-1 gluten-free Blend | Works well, though the texture will be slightly more crumbly |
| Granulated Sugar | Coconut Sugar | Adds a deeper, caramel like sweetness to the dough |
When scaling this recipe down for a smaller household, you can easily halve the ingredients. For the egg, simply whisk it in a small bowl first and then use exactly half of the liquid. If you're doubling the recipe for a big crowd, I recommend working in two separate batches.
Doubling the amount of dough in one bowl often leads to over mixing because it takes more effort to incorporate the large volume of liquid.
Storage Tips and Zero Waste
These scones are at their absolute peak about 20 minutes after they come out of the oven, but they do keep well if stored correctly. Keep them in an airtight container at room temperature for up to 2 days.
To revive the "shatter" of the crust, I always recommend a quick 5 minute warm up in a 150°C oven rather than the microwave, which can make them rubbery.
For zero waste, don't throw away those squeezed lemon halves! You can toss them into a jar of white vinegar to create a natural, citrus scented kitchen cleaner. Any leftover toasted coconut can be stored in a small jar and used as a crunchy topping for morning oatmeal or yogurt.
If you have extra buttermilk, it freezes beautifully in ice cube trays for future baking projects.
Pairing Suggestions for Your Brunch
A Coconut Lemon Scone is a star on its own, but it loves company. I find that a dollop of thick lemon curd or a smear of salted butter really brings out the brightness of the citrus. If you're serving these as part of a larger spread, they sit beautifully next to a bowl of fresh berries or a light fruit salad.
For drinks, a hot cup of Earl Grey tea is the classic choice, as the bergamot notes in the tea mirror the lemon in the scone. If it’s a warm morning, a cold brew coffee with a splash of coconut milk is a brilliant way to lean into the tropical vibes.
These scones are meant to be shared, so break them open, let the steam escape, and enjoy the simple magic of homemade baking.
Kitchen Myths Debunked
"You must use a pastry blender for scones." This is simply not true! A box grater is actually superior because it creates smaller, more uniform pieces of fat without the risk of over handling. The goal is to keep the butter in distinct solid bits, and grating achieves this with much less friction.
"Scones are just dry biscuits." This misconception usually comes from eating store-bought scones that have been sitting out for days. When made with high fat buttermilk and frozen butter, a homemade scone is remarkably moist and tender.
The key is to bake them just until the edges are set; over baking is the true enemy of a good scone.
"The glaze is just for looks." In this recipe, the glaze actually serves a functional purpose. Because we use a moderate amount of sugar in the dough, the glaze provides that necessary hit of sweetness and helps seal in the moisture of the scone, keeping it from drying out as it cools.

Recipe FAQs
How to ensure the butter stays cold during preparation?
Keep your butter in the freezer until the exact moment you are ready to grate it. Using the large holes of a box grater allows the frozen butter to incorporate into the flour quickly without your warm hands melting the fat, which is the secret to a flaky scone.
Is it necessary to toast the shredded coconut?
Yes, definitely do not skip this step. Toasting the coconut in a dry skillet for 3 5 minutes until mahogany gold transforms the flavor from bland to deeply nutty and prevents the texture from being overly chewy.
How to achieve the perfect scone texture?
Handle the dough as little as possible once the buttermilk is added. Gently fold until a shaggy mass forms, then pat into a disc; if you enjoy mastering the delicate fat ratio logic needed for tender pastries, you will find this same precision creates the perfect crumb in our other baking projects.
Can I use a microwave to reheat leftover scones?
No, avoid the microwave as it tends to make the crust rubbery. Instead, warm them in a 150°C oven for 5 minutes to restore that signature fresh baked shatter.
How to get clean cuts when portioning the dough?
Use a sharp knife or a bench scraper and press straight down. Avoid using a sawing motion, as this can compress the layers and prevent the scones from rising properly during the 15-minute bake at 400°F.
Why is my glaze running off the scones immediately?
You are likely glazing them while they are too hot. Let your scones rest for at least 5 minutes after removing them from the oven so the glaze can set properly instead of melting into the surface.
How long can I store these at room temperature?
They will stay fresh for up to 2 days when kept in an airtight container. While they are at their absolute peak 20 minutes after baking, storing them correctly keeps the interior crumb moist.
Toasted Coconut Lemon Scones
Ingredients:
Instructions:
Nutrition Facts:
| Calories | 463 kcal |
|---|---|
| Protein | 7.1 g |
| Fat | 19.2 g |
| Carbs | 65.6 g |
| Fiber | 2.1 g |
| Sugar | 27.8 g |
| Sodium | 458 mg |
