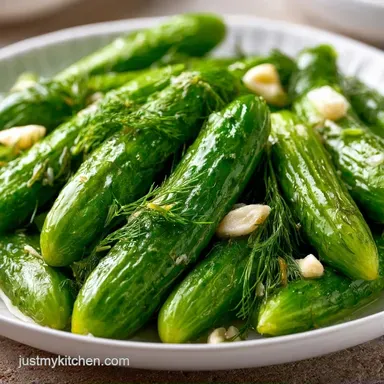
Crispy Garlic Dill Pickle Spears
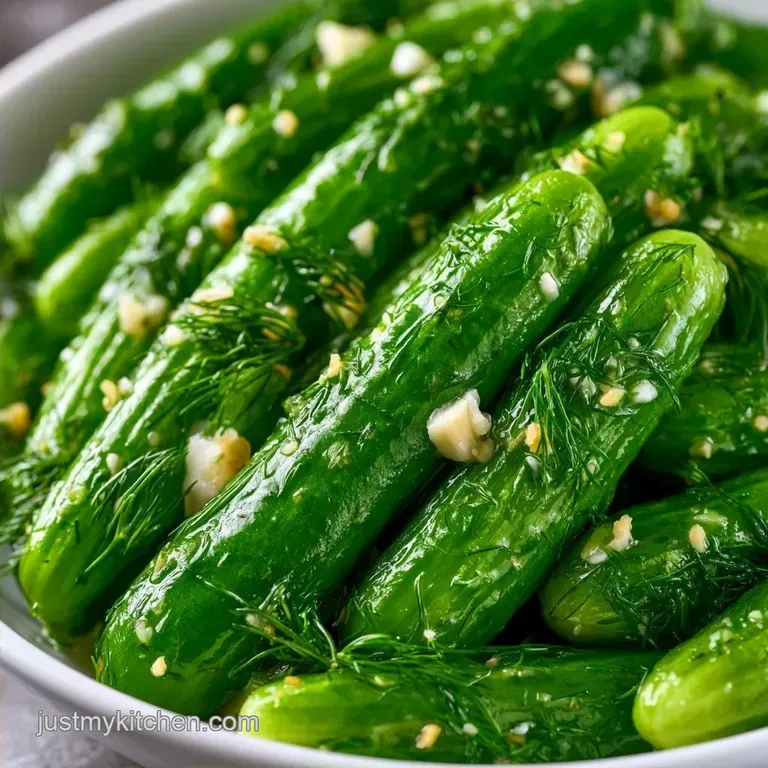
- Time: 10 minutes prep + 24 hours in the fridge
- The Vibe: A crisp, explosive crunch paired with bold garlic
- Great for: Summer grills or a salty late-night craving
There is nothing quite like that sharp, audible snap of a chilled pickle in a deli sandwich. I relied on store-bought jars for years, but they always seemed too soft and overly sugary. I wanted something that tasted like it came straight from the garden, with enough garlic to be truly formidable.
We've all been there following a recipe that demands a two-week wait when you want to eat them immediately. This version bypasses the long fermentation process, delivering that signature vinegary zing without the test of patience.
These Garlic Dill Pickles are a must have at my family's summer parties. They provide a bright contrast to heavy grilled burgers and creamy potato salad, resulting in a crisp pickle that stays firm in the refrigerator.
The Snap Factor
- Blossom End Trim: Removing that tiny slice of the flower end gets rid of enzymes that naturally soften the vegetable.
- Hot Brine: Boiling the vinegar and salt helps the flavors penetrate the skin faster, so they're ready in a day rather than a month.
Quick Comparison
| Feature | This Quick Method | Traditional Ferment |
|---|---|---|
| Wait Time | 24 hours | 2-4 weeks |
| Flavor | Sharp, vinegary | Funky, sour |
| Storage | Refrigerated | Room temp then fridge |
The main trade off here is the "funk." You won't get the complex probiotics of a fermented crock, but you get a clean, punchy acidity that hits the spot immediately.
What's in the Jar
| Ingredient | Role | Alternative Options |
|---|---|---|
| Kirby Cucumbers | Maintains crispness | Persian cucumbers; smaller and thinner skinned |
| White Vinegar | Preserving acid | Apple cider vinegar; fruitier and more mellow |
| Kosher Salt | Reduces moisture | Sea salt; avoid table salt to keep brine clear |
| Fresh Dill | Main aromatic | Dried dill; substitute 1 tbsp for 1/2 cup |
The Shopping List
- 2 lbs Kirby or Persian cucumbers Why this? Sturdier skins prevent them from softening
- 6 cloves garlic, smashed Why this? Crushing the cloves enhances the flavor release
- 1/2 cup fresh dill, sprigs left intact Why this? Whole sprigs keep the liquid clear
- 1 tbsp black peppercorns Why this? Provides a subtle, woody heat
- 1 cup white distilled vinegar Why this? Offers the sharpest, traditional acidity
- 1 cup filtered water Why this? Eliminates chlorine for a cleaner taste
- 2 tbsp kosher salt Why this? Large crystals blend in smoothly
- 1 tbsp granulated sugar Why this? Offsets the sharpness of the acid
The Gear List
You don't need a fancy canning kit for this. Since we're keeping these in the fridge, simple glass works.
- Two 32 oz wide mouth glass jars (Mason jars are great)
- Medium saucepan
- Sharp chef's knife
- Cutting board
- Measuring cups and spoons
Making the Spears
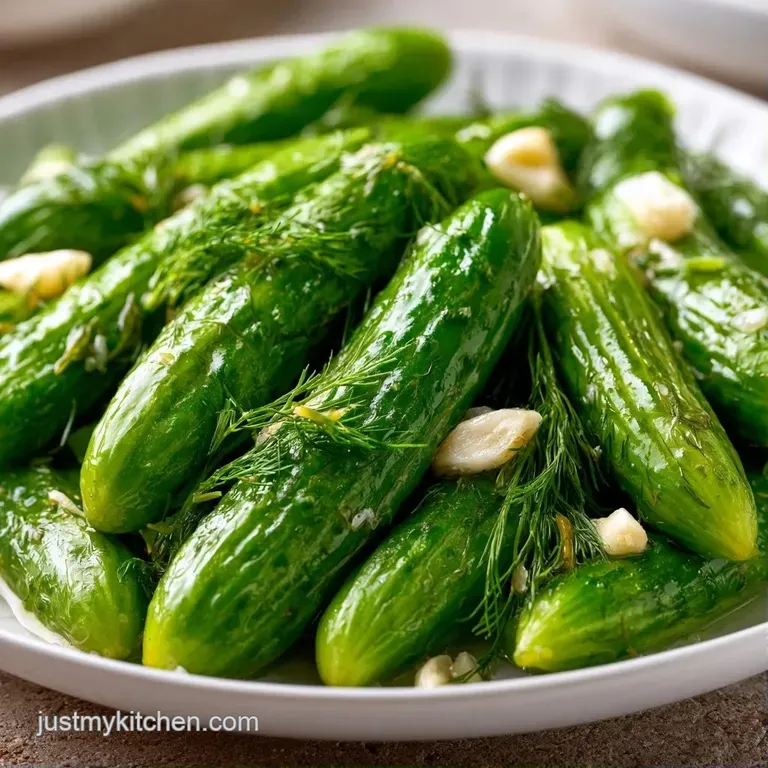
- Rinse the cucumbers well under cold water. Slice a tiny sliver (about 1/16th of an inch) from the blossom end and cut each cucumber lengthwise into quarters to make Garlic Dill Pickle Spears.
- Distribute the crushed garlic, fresh dill sprigs, and black peppercorns equally between two 32 oz wide mouth glass jars.
- Arrange the cucumber spears vertically in the jars, packing them snugly so they don't float when the liquid is added.
- In a medium saucepan, combine the granulated sugar, kosher salt, filtered water, and white distilled vinegar.
- Set the burner to medium high and bring the brine to a vigorous boil, stirring until the salt and sugar have completely dissolved.
- Pour the boiling liquid over the cucumbers, leaving roughly 1/2 inch of space at the top of each jar.
- Seal the lids tightly.
- Let the jars sit on the counter until they reach room temperature.
- Refrigerate for 24 hours until the brine is cold and the spears are translucent.
Chef Note: If air bubbles form after pouring in the hot brine, simply tap the jar on the counter to release them. This ensures the cucumbers are fully submerged.
Fixing Soft Pickles
Preventing Mushy Texture
Softness usually comes from two things: keeping the blossom end or using old cucumbers. If your Garlic Dill Pickles aren't snapping, check the produce section for "firm" feel. Also, make sure the jars go into the fridge only after they've cooled slightly, but don't leave them on a hot stove for hours.
Handling Cloudy Brine
Cloudy liquid happens if you use table salt with anti caking agents. It doesn't change the taste, but it looks a bit off. Use kosher or sea salt to keep the liquid clear. If it's already cloudy, don't worry, it's still safe to eat.
Managing Floating Spears
When cucumbers float, the tops can get soft or develop mold. To stop this, pack the spears as tightly as possible. If they still float, you can use a small glass weight or a folded piece of parchment paper to push them down.
Serving and Pairing
While delicious as a snack, these pair perfectly with rich foods. They're a fantastic addition to a juicy burger or a classic deli Reuben. For a light appetizer, serve them with a scoop of Tzatziki sauce to give it a Mediterranean feel.
To customize the flavor profile, try these simple tweaks: Extra heat? → add 1 sliced jalapeño per jar More punch? → double the garlic cloves Milder tang? → replace 1/4 cup vinegar with extra water
If you're looking for a more traditional preserved version, my Homemade Pickles offer different vinegar ratios.
Keeping Them Fresh
Keep these refrigerated to ensure they stay crisp for 4 to 6 weeks. Do not store them at room temperature; because they weren't processed in a pressure canner, they must be kept cold to remain safe and crunchy.
To minimize waste, save the remaining brine. This seasoned vinegar is excellent for marinating chicken breasts before grilling or adding a zesty touch to potato salad. If you have any leftover dill stems, mince them finely and stir them into a compound butter for steak.
Trying New Flavors
Feel free to customize the foundation of this Garlic Dill Pickle Spears Recipe to suit your preferences.
Spicy Garlic Dill Pickle Recipe
Toss a teaspoon of red pepper flakes or two sliced habaneros into each jar before adding the brine. During the 24 hour chill, the heat infuses the cucumbers, providing a lingering warmth that complements a cold beer perfectly.
Sweet and Spicy Twist
Bump up the sugar to 2 tablespoons and stir in a pinch of cinnamon along with a sliced serrano pepper. This creates a hybrid "bread and butter" style pickle that tastes fantastic on sandwiches.
Adjusting the Quantity
Preparing these for a larger group? You can simply double the batch. Increasing the Yield: Use 4 lbs of cucumbers across 4 jars. To keep the seasoning balanced and prevent over salting, multiply the salt and spices by 1.5 rather than 2.
Reducing the Yield: For just one jar, use 1 lb of cucumbers. Cut the brine components in half, but leave the garlic quantity generous it's the highlight of the recipe.
Common Pickling Myths
You might hear that you have to salt the cucumbers for hours before pickling to get a crunch. While a salt soak helps, trimming the blossom end and using a hot brine is enough for refrigerator pickles. You don't need the extra step if you're eating them within a month.
Another myth is that you need a vacuum sealer to keep them fresh. A simple Mason jar with a tight lid works just fine for fridge pickles. The acidity of the vinegar does the heavy lifting here.
Right then, you're ready to start. Just remember to keep those jars cold and the garlic plenty. Trust me on this, once you start making your own Garlic Dill Pickles, the store-bought ones will taste like water. Let's crack on!
Recipe FAQs
How to make the best Garlic Dill Pickles?
Trim the blossom end of the cucumbers. This removes enzymes that naturally soften the vegetable, ensuring a shattering snap in every bite.
Why are my homemade pickles soft?
Failure to remove the blossom end is the primary cause. When this part is left on, enzymes break down the cell walls of the cucumber during the brining process.
What's the simplest way to make dill pickles?
Boil a mixture of white distilled vinegar, filtered water, kosher salt, and granulated sugar. Pour the hot liquid over cucumbers packed with garlic, dill, and peppercorns, then refrigerate for 24 hours.
Is it true that I can freeze these pickles to keep them longer?
Not true. Freezing destroys the cellular structure of the cucumber, resulting in a mushy and limp texture once thawed.
Which common garlic pickle problems occur?
Floating cucumbers and cloudy brine are frequent issues. Pack spears tightly to keep them submerged and use filtered water to prevent mineral cloudiness.
Can you explain the 3 2 1 rule for pickles?
It is a basic ratio of 3 parts vinegar, 2 parts water, and 1 part salt. This specific recipe utilizes a 1:1 vinegar-to-water ratio for a punchy, clean acidity.
Where can I use pickles in unique ways?
Dice them into a tartare sauce or serve as a side for rich meats. If you love how this acidity cuts through fat, see how the same flavor balancing works in our shrimp scampi sauce.
Garlic Dill Pickles