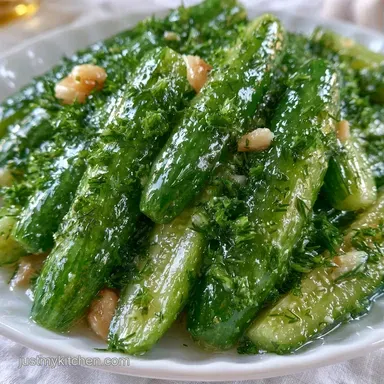
Homemade Pickles with Fresh Dill
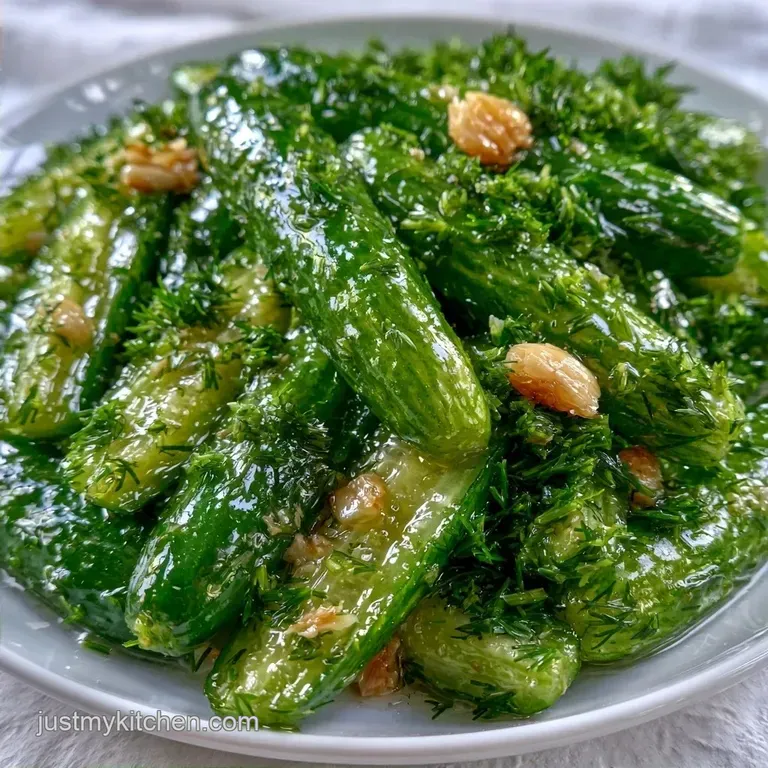
- Time: 15 min active + 24 hours chilling
- Flavor/Texture Hook: Tangy, garlic forward, and shattering crunch
- Perfect for: Sandwich toppings, snack platters, or beginner picklers
Ever wonder why store-bought pickles often taste like metallic water while some deli spears snap like a fresh twig? I used to think you needed a huge water bath canning setup and a degree in food safety to get that result.
I spent a lot of time avoiding the process because I didn't want to boil jars for hours on my stove.
But the truth is, you can get those same results with a simple refrigerator method. You just need the right cucumber and a bit of patience while they sit in the cold. These refrigerator dill pickles are my go to because they don't require any fancy equipment and they cost almost nothing to make.
If you're looking for a way to make easy pickles at home, this is the way to do it. We're skipping the pressure cookers and focusing on a fresh, sharp brine. You'll get a result that tastes like it came from a high end deli, but for a fraction of the price.
Getting Your Homemade Pickles Just Right
Making Homemade Pickles is mostly about the wait. Once the jars are packed and the brine is poured, the refrigerator does the heavy lifting. You aren't fighting bacteria with heat here; you're using acidity and cold temperatures to keep things fresh.
The total time is 24 hours and 25 minutes. While the active work takes about 25 minutes, the 24 hour cure is non negotiable. If you try to eat them after two hours, they'll taste like raw cucumbers with a hint of salt.
Give them a full day to let the vinegar penetrate the core.
Because this is a budget smart recipe, we use basic pantry staples. White vinegar is the cheapest option and provides the cleanest tang, allowing the fresh dill and garlic to stand out. It's a straightforward process that doesn't require a huge investment in gear.
The Shopping List Breakdown
The most important part of these Homemade Pickles is the cucumber. Don't grab the long English cucumbers or the large slicing ones you use for salads. Those have too much water and will turn mushy within days.
Look for Kirby or "Pickling" cucumbers; they have thicker skins and a denser interior that holds onto the crunch.
I usually buy these in bulk when they're in season to keep costs down. Fresh dill is a must, but if you're on a strict budget, you can use dried dill, though the flavor is a bit more muted. The sea salt helps draw out the moisture, and the honey just rounds off the sharp edges of the vinegar.
| Ingredient | What It Does | Best Swap |
|---|---|---|
| Kirby Cucumbers | Provides the crunch | Persian cucumbers (smaller, softer) |
| White Vinegar | Preserves and adds tang | Apple cider vinegar (fruitier taste) |
| Sea Salt | Draws out water | Kosher salt (avoid iodized salt) |
| Fresh Dill | Adds the classic herbal note | Dried dill (use 1 tsp instead of 4 sprigs) |
You can find these ingredients at any discount grocery store. Most of the brine components are things you already have in your cupboard. Since we are making Homemade Pickles in a refrigerator style, we don't need expensive pectin or specialized canning salts.
Necessary Kitchen Tools
Minimal equipment is required for this process. A few quart sized mason jars are the primary tools. Any glass jar with a secure lid will work if you don't have mason jars, although the standard ones make packing the cucumbers much simpler.
You will need a small saucepan to heat your brine. Simply simmer it for about 10 minutes to ensure the salt and honey dissolve fully. Using a sharp knife or a mandoline helps create uniform rounds or spears, which ensures every piece cures at the same speed.
For these Homemade Pickles, I suggest using a heavy spoon to press the cucumbers down. Try to leave a gap of about 1/2 inch at the top. This prevents the cucumbers from floating and becoming soft due to air exposure.
Steps From Prep to Plate
Preparing these simple homemade dill pickles is a sensory experience. The aroma of pungent garlic and sharp vinegar hits you almost instantly.
- Distribute the crushed garlic and fresh dill equally between your two mason jars. Note: Placing these at the bottom helps the flavor travel upwards through the jar.
- Tightly pack the cucumber slices into the jars, leaving about 1/2 inch of space at the top. Press them down firmly to keep them from moving.
- In a saucepan, mix the water, vinegar, sea salt, honey, mustard seeds, and peppercorns.
- Bring the liquid to a light simmer over medium heat, stirring now and then until the honey and salt have dissolved. Cook for 10 minutes until the brine is clear and softly bubbling, then take it off the heat.
- Carefully pour the hot brine over the cucumbers, making sure they are completely covered.
- Gently tap the jars on your counter to get rid of air bubbles, seal the lids, and let them cool down to room temperature.
- Place the jars in the refrigerator to cure for at least 24 hours.
After 24 hours, you'll see the cucumbers shift from bright green to an olive tone. This indicates the brine has permeated the vegetables. Your Homemade Pickles are now ready to enjoy.
Fixing Common Pickle Problems
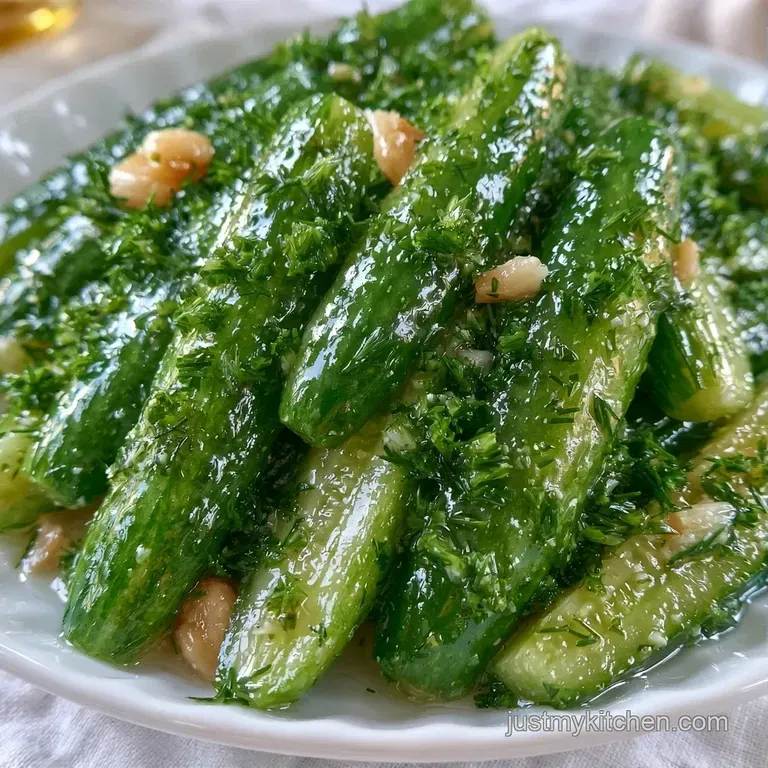
The biggest issue people run into with Homemade Pickles is a loss of crunch. If your pickles feel soft or bendy, it's almost always the cucumber variety. Slicing cucumbers have a higher water content that breaks down under the acid of the vinegar.
Another common problem is cloudy brine. This usually happens if the garlic wasn't fresh or if the jars weren't clean. While it doesn't affect the safety of refrigerator pickles, it doesn't look as professional. Using filtered water instead of tap water often solves this.
If the flavor is too sharp, you might have skipped the sweetener. The honey doesn't make the pickles "sweet" like a bread and butter pickle, but it balances the acetic acid in the vinegar.
| Problem | Fix |
|---|---|
| Soft or mushy texture | Use Kirby or Pickling cucumbers only |
| Cloudy brine | Use filtered water and fresh garlic |
| Overpowering vinegar | Add a pinch more honey or maple syrup |
When making Homemade Pickles, always check that the cucumbers are fully submerged. If any pieces poke above the liquid line, they can develop a filmy layer or get soggy. Use a small weight or a folded piece of parchment paper to keep them down if necessary.
Ways to Customize Flavors
Making your own pickles allows you to customize the brine to your liking. To boost the heat, stir in a teaspoon of crushed red pepper flakes or a few jalapeño slices. For a hint of smoke, whisk in a pinch of homemade chili seasoning before you simmer the liquid.
If you like a sweeter profile, bump the honey up to 3 tablespoons and toss in some thinly sliced onions. This creates a bread and-butter vibe while retaining the dill flavor. It is a perfect opportunity to incorporate any remaining onions from your meal prep.
| Goal | What to change |
|---|---|
| Extra Spicy | Add 1 sliced habanero or jalapeño |
| Sweeter Taste | Swap honey for 1/4 cup brown sugar |
| Floral Note | Use apple cider vinegar instead of white |
For a deeper, more nuanced taste, add a bay leaf or a few coriander seeds to every jar. Homemade pickles are quite flexible, so don't be afraid to play around with different herbs. Keep in mind that adding more components may slightly increase the necessary curing time.
Storing and Zero Waste
These Homemade Pickles live in the fridge, not the pantry. Because they aren't processed in a pressure canner, they aren't shelf stable. Keep them in their jars for up to 4 weeks. After a month, the texture will start to soften, though they'll still be safe to eat.
Don't toss the leftover brine once the cucumbers are gone. That liquid is basically a seasoned salt and vinegar concentrate. You can use it to marinate chicken or pork for 2 hours before grilling, or splash a bit into a potato salad for a zingy kick.
If you have cucumber peels or ends left over, don't throw them away. Toss them into a compost bin , if you're feeling adventurous, put them in a separate small jar with a bit of the brine for a "scrap pickle" snack. It's a simple way to ensure zero waste in your kitchen.
Serving and Pairing Ideas
These Homemade Pickles are a fantastic addition to any deli sandwich. I particularly enjoy them on toasted sourdough with sharp cheddar, as the tanginess balances the heavy cheese perfectly.
For a lighter snack, serve them with homemade pita bread and a bowl of hummus. The crisp snap of the pickle contrasts well with the soft bread and creamy dip, creating a quick Mediterranean style appetizer platter.
You can also finely dice them to stir into a tuna or chicken salad. Use these Homemade Pickles instead of store-bought relish for a brighter, fresher taste. The garlic and dill notes turn a standard sandwich into something special.
Why This Brine Works
The salt in the brine pulls moisture from the cucumber cells, creating space for the vinegar to soak in. This not only preserves the vegetable but also enhances its firmness.
By simmering the brine, we ensure the salt and honey are fully integrated. This creates a uniform solution that penetrates the cucumbers evenly, preventing any overly salty patches.
When you craft Homemade Pickles this way, the cold fridge temperature inhibits the enzymes that usually make cucumbers mushy. This is why they remain crisp for weeks. It's a simple technique, but the result is a high-quality condiment that outperforms anything from a plastic jar.
In the end, making pickles at home is simply a matter of choosing the best produce and allowing them to cure. Whether you use this as your favorite dill pickle recipe or a foundation for your own experiments, the freshness is key.
Once you taste the snap of these Homemade Pickles, you'll find store-bought versions lacking.
Recipe FAQs
Do homemade dill pickles in vinegar need to be refrigerated?
Yes, these must stay in the fridge because they aren't processed in a pressure canner. They will remain crisp and safe for up to 4 weeks.
How to make a quick pickle?
Simmer vinegar, water, salt, honey, and spices in a saucepan until dissolved. Pour the hot liquid over packed cucumbers and garlic in a jar.
Can brine for refrigerator pickles be reused?
Yes, this liquid works great as a seasoned salt and vinegar concentrate. Use it to marinate meats or add a splash to a potato salad for extra zing.
Which cucumbers work best for this recipe?
Kirby or pickling cucumbers are the best choice. Their thicker skins and firmer flesh prevent the spears from getting mushy in the brine.
Is it true that you must use a pressure canner for home pickles?
Surprisingly, no. Refrigerator pickles only require a jar and a stovetop to simmer the brine.
What's the secret to sweet pickles without canning?
Increase the amount of raw honey or maple syrup in the brine. Simmer the sweetener with the vinegar and water to ensure it incorporates fully.
Why are these better for diabetics than store-bought options?
They use a small amount of raw honey instead of refined sugars. If you enjoyed balancing these flavors, see how we use a similar acid technique in our garlic lemon sauce.
Homemade Dill Pickles 2