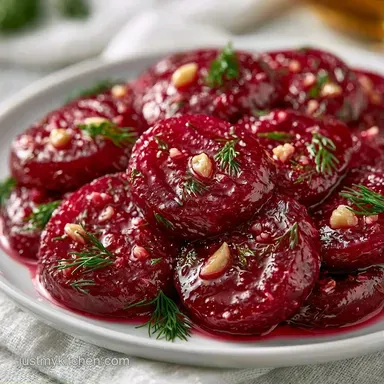
Roasted Garlic Dill Pickled Beets
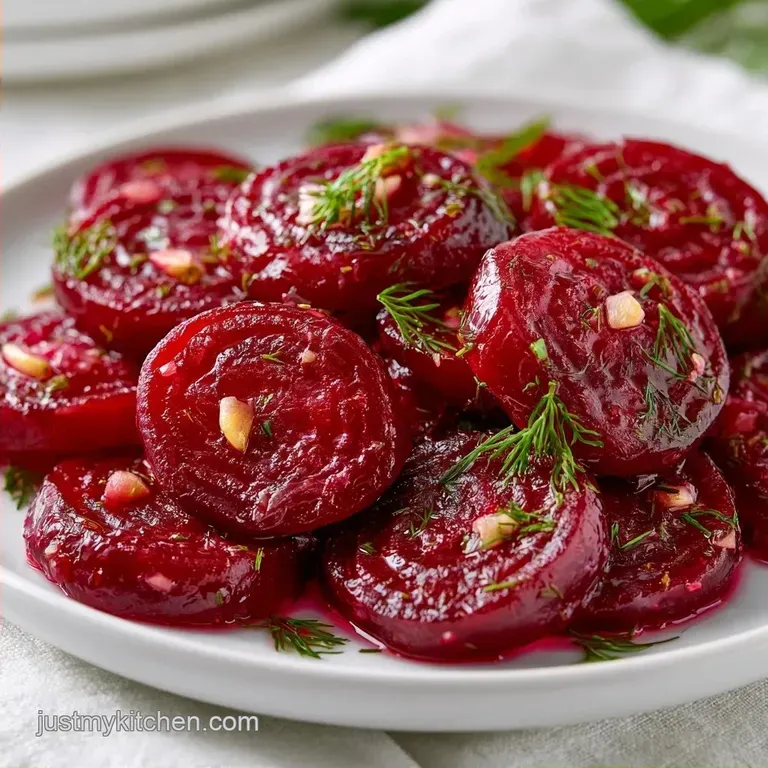
- Prep: 10 mins + 24 hours resting
- Sensory Profile: Tangy, crisp, and aromatic
- Perfect for: Meal prep, charcuterie boards, or a zesty side dish
Have you noticed how store-bought pickled beets often taste artificial? They are usually mushy and overly sweet, missing the bright, fresh zing that makes a preserve actually worth eating.
I used to settle for those jars until I realized how simple it is to make these at home. The secret is the roasting process; by roasting instead of boiling, you keep the flavors concentrated and the texture firm.
These Dill Pickled Beets are my favorite way to add brightness to a hearty meal. They are earthy, salty, and have a pungent garlic kick that wakes up everything on the plate.
Zesty Garlic Dill Pickled Beets
Everything hinges on balance. You're looking for the root's natural sweetness to contrast with the sharp acidity of apple cider vinegar. Omitting the roasting phase removes that essential caramelized richness, which can leave the final product tasting flat.
Pickling doesn't require a science degree it's actually just about the right ratios. We employ a standard vinegar-to-water balance to keep the beets safe for fridge storage while they absorb the aromatic garlic and dill.
Be patient with the chilling time. While you can eat them sooner, the profile truly develops after a full day. This is what transforms a vegetable that merely tastes of vinegar into a polished, finished preserve.
What Makes This So Good
Roasted Sugars: Roasting at 400°F caramelizes the natural sugars in the beets, which stops them from tasting "dirt like."
Acid Balance: The apple cider vinegar provides a fruity tang that cuts through the richness of the roasted root.
| Method | Time | Texture | Best For |
|---|---|---|---|
| Boiled | 30 mins | Softer | Quick salads |
| Roasted | 60 mins | Crisp/Dense | Long term pickling |
The Building Blocks
I highly recommend sticking with pickling salt for this recipe. As noted by Serious Eats, the anti caking agents found in standard table salt can cloud the brine. Using pickling salt ensures the liquid remains transparent and the taste stays crisp.
| Ingredient | What It Does | Best Swap |
|---|---|---|
| Beets | Earthy foundation | Golden beets (more subtle taste) |
| Apple Cider Vinegar | Tartness and acidity | White distilled vinegar (more aggressive) |
| Granulated Sugar | Counteracts the acid | Honey (introduces floral tones) |
| Fresh Dill | Herbal brightness | Dried dill (use 1/3 amount) |
For the Beets
- 3 lbs fresh beets, scrubbed and trimmed Why this? These hearty roots absorb the brine efficiently.
- 1 tbsp olive oil Why this? Stops sticking and helps with roasting.
- 1/2 tsp kosher salt Why this? Encourages moisture release for superior browning.
For the Garlic Dill Brine
- 2 cups apple cider vinegar Why this? Offers a fruitier, softer profile than white vinegar.
- 1 cup water Why this? Tones down the acid for a more harmonious flavor.
- 1/2 cup granulated sugar Why this? Tames the sharp acidity of the vinegar.
- 2 tbsp pickling salt Why this? Crucial for maintaining a transparent brine.
- 6 cloves garlic, smashed Why this? Crushing the cloves maximizes the flavor release.
- 1/2 cup fresh dill, coarsely chopped Why this? Delivers that classic dill aroma.
- 1 tbsp whole black peppercorns Why this? Contributes a mild, spicy kick.
- 1 tsp mustard seeds Why this? Lends a pungent, nutty dimension.
Equipment Needed
You don't need a fancy canning kit for this. Since these are refrigerator pickles, simple glassware works.
- Large rimmed baking sheet
- Aluminum foil (for easy cleanup)
- Medium stainless steel pot
- Three pint sized glass jars with tight lids
- Sharp chef's knife
Key Steps
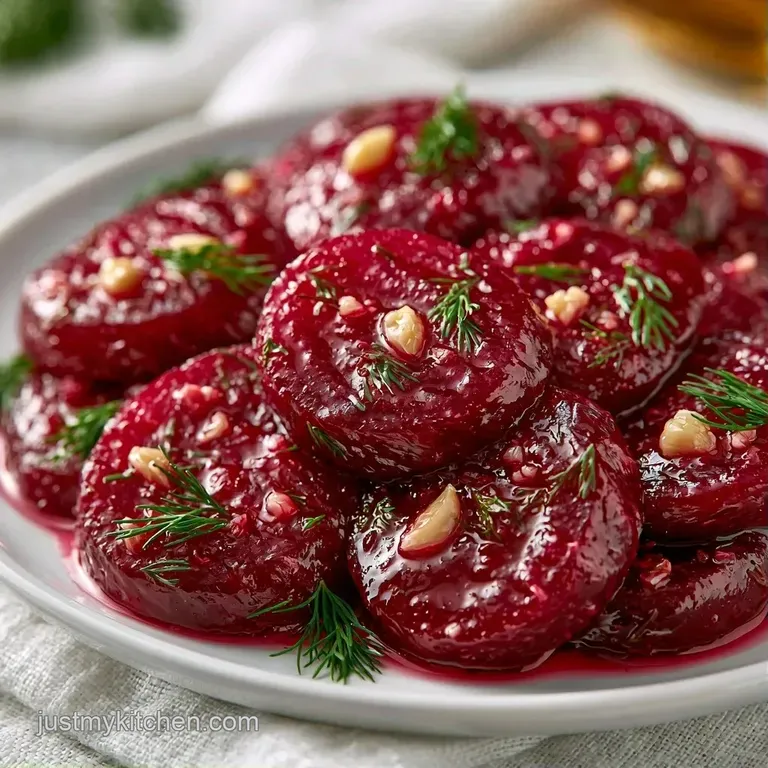
1. Roasting for Flavor
Set your oven to 400°F (200°C). On a foil lined pan, toss the clean beets with salt and olive oil. Roast for 45–60 minutes until they are tender when pierced with a knife.
2. Easy Peeling
While the beets are still warm, use your fingers or a paper towel to gently rub away the skins. They should come off easily. Slice the beets into quarters or 1/4 inch thick rounds.
3. Preparing the Brine
In a pot, combine sugar, water, apple cider vinegar, and pickling salt. Heat the mixture until it boils, then lower the heat and simmer for 5 minutes. Stir in the mustard seeds, peppercorns, and smashed garlic.
4. Filling the Jars
Distribute the sliced beets and fresh dill among three pint jars. Pour the hot brine over the top, ensuring the beets are completely covered. Tighten the lids.
5. Cooling Process
Leave the jars on the counter until they reach room temperature, then move them to the refrigerator.
6. The Final Step
Keep them refrigerated for 24 hours before serving. This allows the Dill Pickled Beets to fully absorb the flavors of the herbs and garlic.
Troubleshooting Guide
If your beets feel a bit off, it's usually a temperature or timing issue. Overcooking is the biggest culprit. If you roast them for too long, they lose the structural integrity needed to stay crisp in the brine.
Another issue is cloudy brine. This happens if you use table salt instead of pickling salt, or if the vinegar is too old. It doesn't affect the safety, but it doesn't look as pretty in the jar.
Beets Are Mushy
This happens when the roasting time exceeds 60 minutes or the heat is too low. Keep a close eye on the "knife test."
Brine Is Cloudy
Usually caused by impure salt or residues in the jar. Use distilled water if your tap water is very hard.
Taste Is Too Sharp
If the vinegar is overpowering, you likely didn't simmer the brine long enough to let the sugar integrate.
| Problem | Fix |
|---|---|
| Mushy Beets | Roast for 10 mins less next time |
| Cloudy Liquid | Switch to pure pickling salt |
| Too Sour | Add a pinch more sugar to the brine |
Creative Twists and Swaps
You can easily tweak this recipe to fit your pantry. If you're in a rush and can't wait 24 hours, you might prefer my quick pickled beets method which uses a different approach for speed.
For a "no sugar" version, replace the granulated sugar with a stevia blend or just omit it entirely. The beets have enough natural sugar to keep it from being too harsh, though the flavor will be much more pungent.
Chef Note: Try adding a few slices of fresh ginger to the jar for a spicy, Asian inspired twist on these Dill Pickled Beets.
For those who love a more complex flavor, try adding a splash of red wine vinegar to the apple cider vinegar. It adds a deeper, more "vintage" taste to the brine.
| Original Ingredient | Budget Substitute | Impact |
|---|---|---|
| Apple Cider Vinegar | White Vinegar | Sharper, less fruity |
| Fresh Dill | Dried Dill | Less punchy flavor |
| Olive Oil | Vegetable Oil | Neutral flavor, same result |
Storage & Reheating
Since these are refrigerator pickles and not processed in a water bath, they must stay chilled. Store your Dill Pickled Beets in the fridge for up to 3 weeks.
Don't freeze these. Freezing breaks the cell walls of the beets, and they'll turn into a soggy mess once thawed. If you have too many, share them with a neighbor!
Zero Waste Tips
Don't toss the beet greens! If your beets came with the leaves, sauté them with a bit of garlic and olive oil. They taste remarkably like Swiss chard and make a great side dish.
Presentation Tips
To serve, use a slotted spoon to lift the beets from the brine. This prevents the vinegar from running all over your plate. Pair these with a sharp goat cheese or a dollop of sour cream to balance the acidity.
For a more substantial side, try my Pickled Beets with Onions recipe for added texture. These look great served on a platter with sliced cucumbers and feta cheese.
For a party, serve them in small chilled bowls with toothpicks. The deep red color of the Dill Pickled Beets makes a striking visual against a white platter.
What Makes This So Good
The success of this dish comes down to the heat. Roasting creates a concentrated flavor that boiling simply can't match. It turns a simple root vegetable into something rich and savory.
Then, the cold cure process takes over. The 24 hour soak allows the garlic and dill to penetrate the center of the beet, ensuring every bite is seasoned throughout. It's a simple process that yields a professional result.
Recipe FAQs
Do I need to boil beets before I pickle them?
No, roasting is better. Roast them at 400°F for 45 60 minutes until a knife slides in with zero resistance to ensure a deeper, concentrated flavor.
Which vinegar works best for these beets?
Apple cider vinegar is the best option. Its fruity acidity balances the earthy sweetness of the beets. If you enjoyed the flavor profile of our white vinegar pickles, you will love this variation.
How do I remove the beet skins?
Rub the skins off while the beets are still warm. Use your fingers or a paper towel to slip them away before slicing the beets into 1/4 inch rounds.
Is it true that table salt is ideal for the brine?
Actually, no. Table salt often leads to cloudy brine, so use pickling salt to keep the jars looking clear and professional.
Dill Pickled Beets